Preparing your soil for the next season is important to do so that you get a head start on having a healthy spring garden. But you might be wondering if it’s really necessary.
The bottom line: it is!
How should you prepare your soil for next season?
There are various ways in which you should prepare the soil so that your garden will be healthier and look lovelier.
One of the most important things to do is add compost to the soil, but you also need to test your soil to see what it needs.
By working a little harder now on enriching your soil, you’ll be able to reap the rewards when spring comes because you’ll have less to do to maintain your beautiful garden.
Everything will be in place. With that in mind, let’s look at these important tips to prepare your soil for next season.
Table of Contents
Step One: Clean Up Leaves And Debris
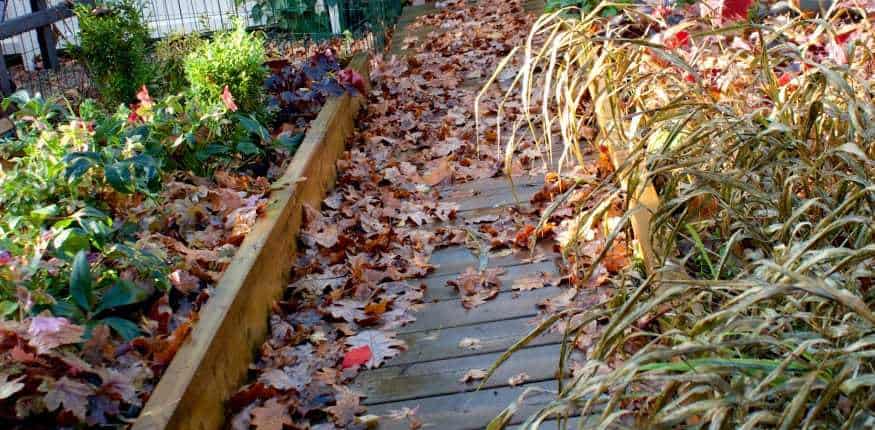
You might’ve heard that you should leave fallen leaves on the soil so that they can insulate it through the cold months, but this is best avoided.
If you leave fallen leaves on the ground, they can end up giving insects and pathogens a cozy place to live from which they can attack grass and plants, giving you problems by the time spring comes around.
For healthy soil, keep debris to a minimum so as not to attract pests.
Step Two: Remove Dead Plants
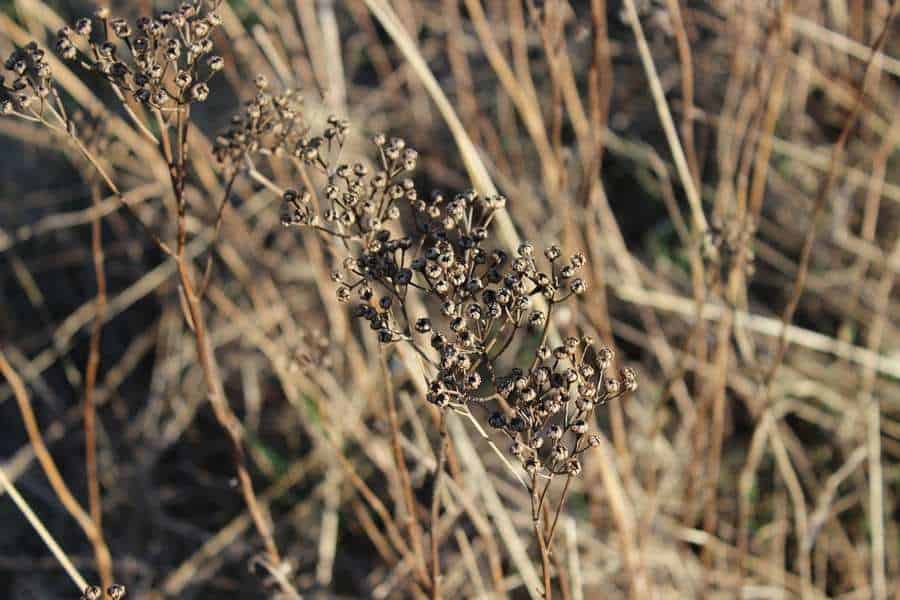
If you have some plants that have died but which are still in your garden, now’s the time to do a bit of a garden cleanup.
Remove them and make sure you eliminate their roots too, and put them into your compost pile.
You should also get rid of weeds so that they don’t have a chance to grow and compete with the new plants you’ll be planting for nutrients, oxygen, and water.
In fact, removing weeds during fall is the best time in which to do so because you haven’t given the weeds a chance to grow and spread.
You’re nipping them in the bud!
Just make sure that you always remove the roots of weeds so that you prevent them from regrowing in your garden.
It’s also best not to use chemical treatments to kill weeds as these can harm and kill other plants that you have in your garden. You can find out more about how to kill weeds without hurting your other plants by reading “How to Kill Weeds Without Damaging The Garden.”
Step Three: Test Your Soil In 4 Important Ways
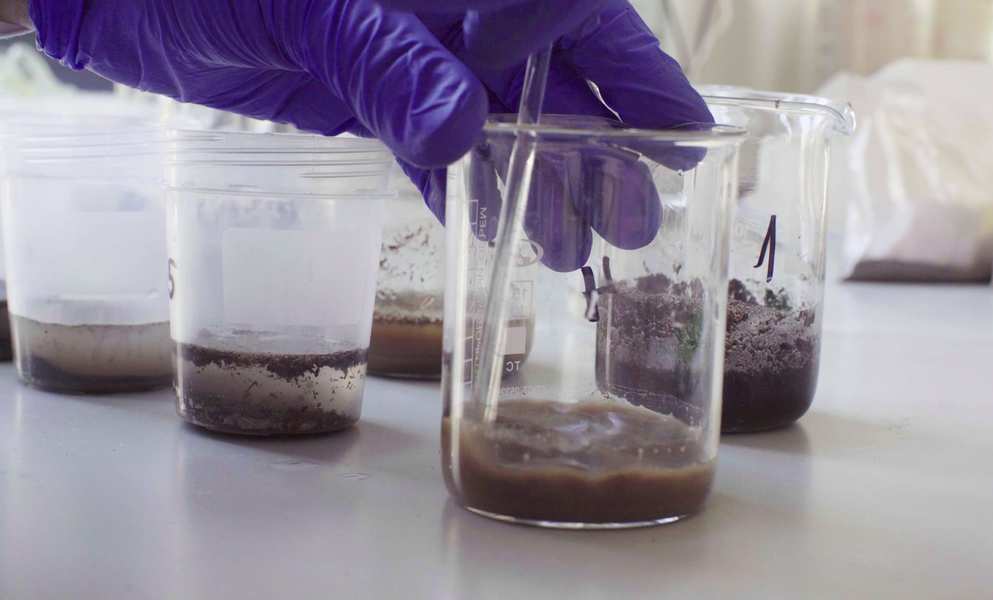
Does your soil have enough nutrients that grass and plants require to grow?
You can find out by getting your soil tested. During the fall or spring is the perfect time to test your soil as it’s at its most stable. There are actually four important soil tests you should do if you want healthy soil.
Test 1: Check Soil pH
You want to check your soil’s pH level to determine if it’s too acidic or alkaline, both of which can impair plants’ ability to grow.
You can get a pH testing kit from your local garden store.
If your soil is acidic, you should add ground limestone to it. If it’s too alkaline, you should add granular sulfur. You can learn more about how to test the pH of soil as well as how to correct any imbalances by reading, “pH of The Soil – Why Is It Important.“
Test 2: Test Your Soil’s Nutrients (Or Lack Thereof)
Plants generally need three main nutrients in order to grow: nitrogen, phosphorous, and potassium.
You can check if any of these are lacking in your soil simply by looking at plants that are already growing in it.
- If your plants have yellowing leaves, especially when it comes to older plants, this can be a sign that your soil doesn’t have enough nitrogen in it. Nitrogen forms part of the chlorophyll molecule which is responsible for the lovely green color of plants.
- If your plants have old leaves that have started to take on a purple hue or are very dark green in color, or the tips of their leaves are burnt, this could point to a phosphorous deficiency.
- If the tips of your plant leaves look burnt and curl inwards towards the plant, this is a sign that the soil doesn’t have enough potassium. You might also find that underneath the leaves there are purple spots. Look even closer at the veins of the leaves – a potassium deficiency can make yellow color appear between leaf veins, as Dave’s Garden reports.
Of course, if your soil is filled with too much clay or sand, this not only means it won’t drain water well but it won’t be able to maintain nutrients that the plants need to survive and thrive.
Now that we’ve mentioned soil drainage, let’s take a look at how to test for well-draining soil.
Test 3: Test How Well (Or Poorly) Your Soil Drains
Your plants will generally need to have well-draining soil, so you want to check if your soil is draining correctly. You can do this with the following test:
- Dig a few holes in the ground that are about 12 inches deep and 24 inches wide.
- Fill them with water.
- Leave them for a while, during which time you should keep checking them to see how quickly the water disappears into the soil.
- Based on how the water moves through the soil, you can find out if the soil is draining well or not. Here’s a rough guideline to tell you what’s happening in your soil, as How Stuff Works reports:
- If the soil takes one to 12 minutes to drain, this probably means the soil is too dry.
- If it takes up to 30 minutes to drain, the soil is ideal and has good drainage properties.
- If the soil takes over 30 minutes but up to four hours to drain, this means that the soil drains slowly but it can be good for plants that like to be in moist soil, such as winterberry, water iris, blue flag, and marsh marigold.
- If the soil takes more than four hours to drain, then it has low-quality drainage.
Although you might wonder what to do next, there are easy ways to improve how water drains into your soil.
How to improve soil drainage:
- Add coarse grit to soil if it is heavy or sticky.
- Put garden compost on your soil. You can make it yourself with rotted materials, and this will help to aerate the soil. This tip is beneficial for any type of soil and will improve how it drains water. Take organic compost and add it to the top layer of your soil after you’ve tilled it. You should also break hard clumps of soil so that you get a much finer mixture, as SF Gate reports.
- There are other things you can do daily to prevent soil from draining water poorly. These include reducing traffic on soil, and this should especially be avoided if the soil is wet. You should also never till or dig your soil when it’s wet, as Extension reports.
- Remove hardpan that’s in your soil. This is a thick layer of soil below the uppermost layer of topsoil and it can cause bad drainage of water. You can eliminate hardpan by plowing or setting out a new raised bed if you can’t remove it because it is too big. When you remove the hardpan of the soil by breaking it up into smaller pieces, you should replace it with healthy organic matter in the form of humus – this can be made up of grass clippings, peat moss, and decomposing leaves.
Test 4: Test Your Soil Texture
A quick breakdown of what’s in your soil is necessary before you can test it: Soil is made up of sand and clay, with sand making up most of it.
Silt particles are also found in soil. These are like powder when dry but they can be slippery when wet. Clay is the smallest part of soil and it sticks together, while sand is gritty.
Knowing this is important so that you can determine the texture of your soil. Take some soil from your garden and rub it between your fingers. How does it feel? If it’s gritty, then it’s mostly sand; if it’s slippery and sticky, it’s got a lot of clay. Generally, most of the soil you’ll find in the garden will be a blend of these two, as Planet Natural reports.
Here is what you need to know about your soil’s ability to grow grass and plants, based on whether it has too much sand, silt, or clay.
- Sandy soil tends to lack nutrients because they drain too quickly through it. This type of soil also falls short when it comes to having healthy microbes to help grass and plants to grow.
- Silt doesn’t drain and is quite thick when compared to other soil types. However, it is more fertile than clay and sand.
- Clay soil is not very good at draining water and can be extremely thick and dry. It’s very difficult for plants to push their roots through clay and get the nutrients that they need to survive.
How to correct your soil:
- Sand: If your soil is too sandy, take a few inches of organic compost and mix it into the soil. You can use hay, bark, or wood chips to create mulch and place it around plants.
- Silt: Add just one inch of organic material to the soil, but avoid compacting the soil such as by stamping over it.
- Clay: If your soil has too much clay, then you should apply three inches of organic compost to it. You can also make raised beds to improve soil’s drainage ability, as Planet Natural reports. If you have heavy clay, you can improve it by adding gypsum to it. This is a soft sulfate mineral that loosens the clay and makes it easier to work with, so add three pounds of it per 100 square feet of garden soil.
Step Four: Create Raised Beds In The Garden
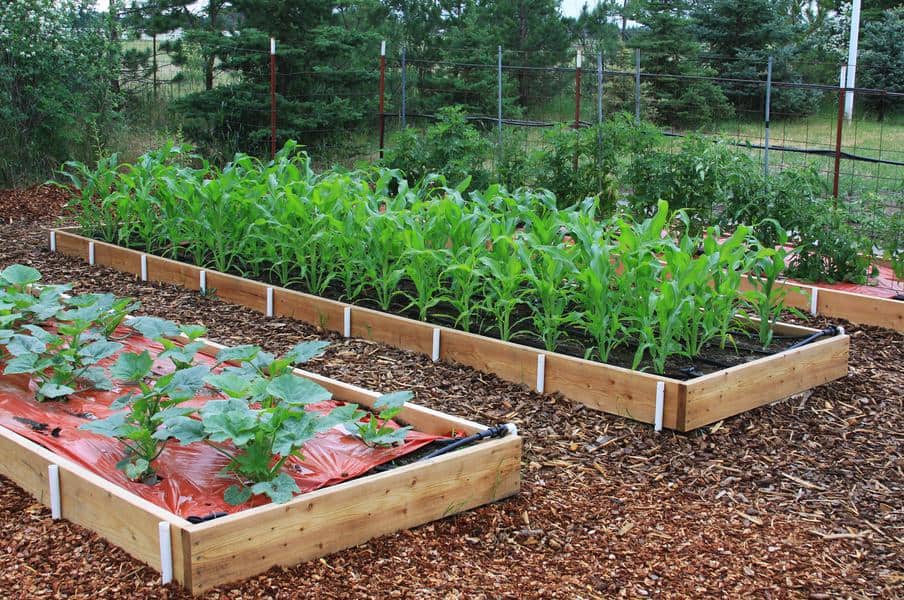
Now that we’ve mentioned raised beds, it’s worth digging a bit deeper into their benefits.
If your soil quality is poor and you can’t fix it, you can find a solution to the problem by making use of raised beds in your garden.
These are basically garden beds that are made out of a variety of materials, such as reinforced concrete, blocks, or wood, but they need to have a soil depth of at least six inches.
Now, if you have poor soil quality such as soil that is too sandy, you can make raised beds that contain this soil and then use it to plant flowering or other plants that fare well in sandy soil, such as salvia, lavender, and potatoes.
Although setting up garden beds might seem like a time-consuming task, it will help you in the planting season because you’ll be able to make the most of the type of soil you have in certain areas of your garden instead of letting it go to waste or battling to try to fix it.
Step Five: Put Down Compost
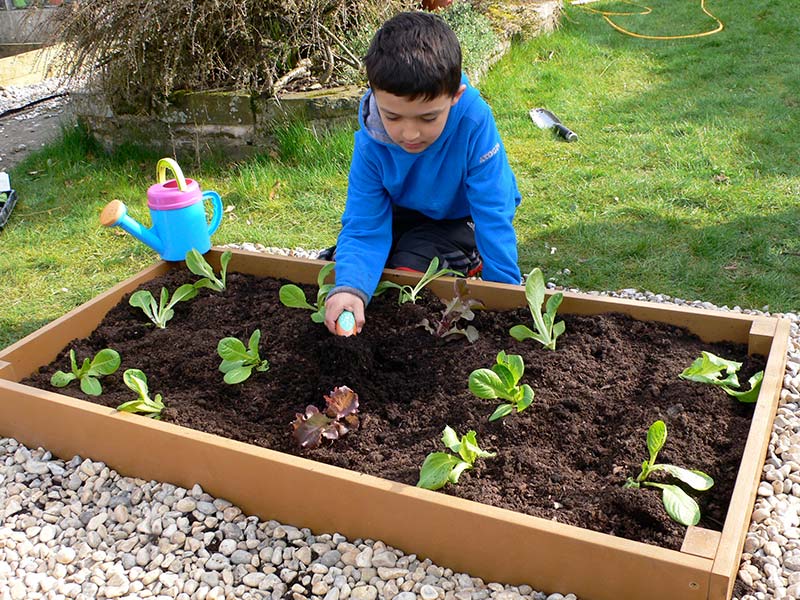
You need about four inches of compost to make your soil healthier.
Put it on the ground and then work it into the soil with the use of a digging fork.
It’s really important to do this when the soil still has warm temperatures, so that the healthy microbes of the soil can start breaking it down. By the time spring rolls around, your soil will be ready.
What’s the best compost to use in your garden? You can make your own. This is a great way of using what you already have without sending chemicals into your soil and the environment.
You can easily make your own compost to prep your soil for the planting season by getting into the habit of collecting food remains, such as fruit and vegetable peels, into a container, so that you can have enough compost for your garden.
You can throw the following items into the compost bin:
- Egg boxes and eggshells
- Teabags and coffee grounds
- Newspaper
- Firewood ash
- Grass cuttings (they’re filled with nitrogen, an essential nutrient plants need to grow)
- Fallen leaves (they’re a great source of carbon, which ensures healthy soil)
- Twigs
- Dead flowers
However, don’t use the following as compost: cooked or raw meat, citrus, pet feces, diseased plants, plants that were treated with pesticides or other chemicals, or dairy products, as Garden and Home reports.
Step Six: Apply Fertilizer
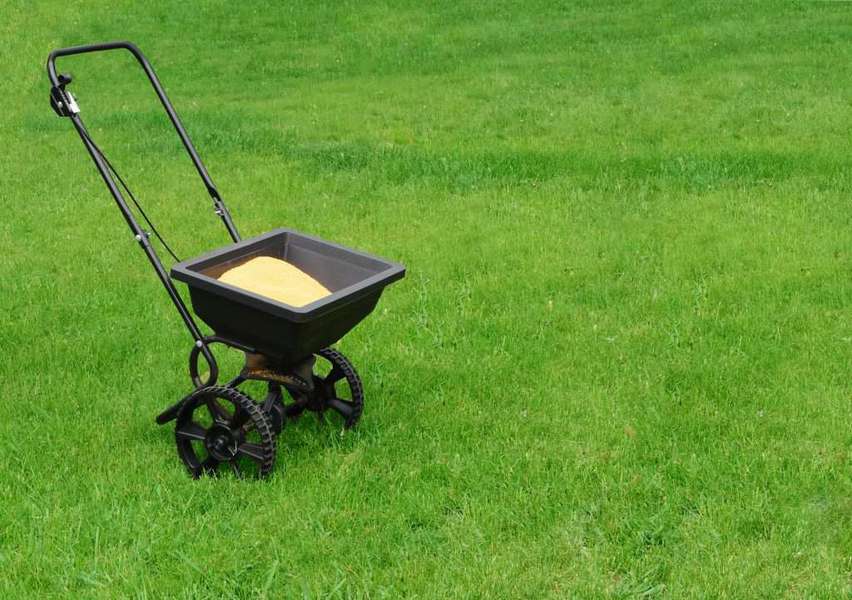
Your best bet is to use organic fertilizer on your lawn.
This is better for your soil because it releases nutrients at a slower pace than conventional fertilizers, and it does this over many months which gives your grass a chance to absorb the nutrients they need to grow.
When it comes to your flower beds, you don’t need to worry about adding compost to them during the cooler months. This is because the rains will wash out the nutrients in the compost.
The best time to apply fertilizer to your flower beds is in spring, just before you plant flowers in them.
If you’re purchasing fertilizer, make sure you never use lawn fertilizer in the garden as this usually contains high amounts of nitrogen which grass needs to grow.
However, it can contain weed control ingredients that are chemically-based and can kill your vegetables, as Agrilife Extension reports.
The best type of synthetic fertilizer to buy if you’re going that route is one that’s known as a complete fertilizer.
These products tend to have double the amount of phosphorous than potassium and nitrogen, as Agrilife Extension reports. A complete fertilizer will give the soil all the most important nutrients it needs.
Step Seven: Make Use Of Cover Crops
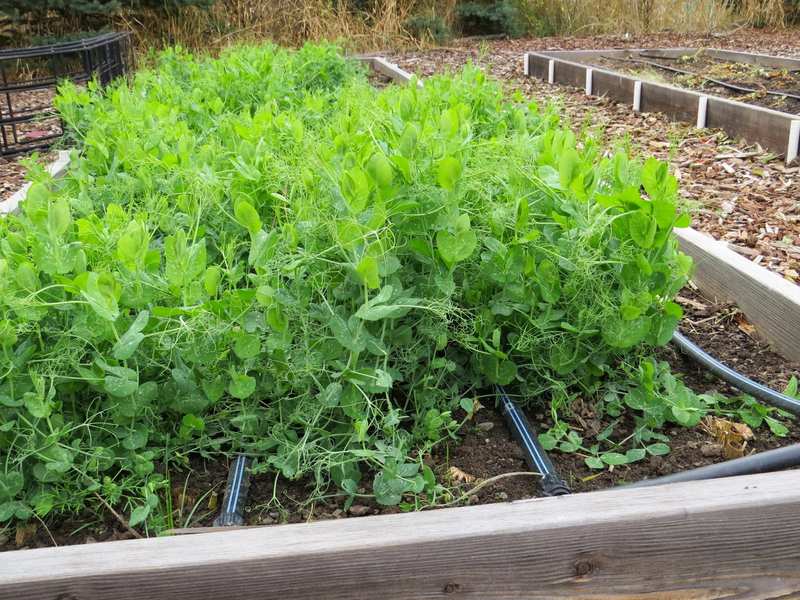
What are cover crops, you ask?
They’re basically plants that can infuse the soil with nutrients but they can also inhibit the growth of weeds and absorb nitrogen that could be lost to rain runoff, as eHow reports.
Cover crops get planted into the soil to nourish the soil. They increase soil fertility and control diseases that can try to affect your soil.
Annual grass crops such as rye and oats work wonderfully to protect your garden soil.
There are also other cover cops to consider, such as winter field beans and peas, vetch, and clover.
What About Green Manure?
If you’re using cover crops in the garden, that basically means you’re making green manure!
This term has become quite popular in gardening circles and it’s really easy to make because you can use what you already have in your garden.
Green manure basically creates a cover over soil that’s made of living organisms. You can choose various items to make green manure, such as those mentioned earlier, but you can also use red clover, forage rye, field beans, and winter tares, as The Guardian.
These plants are grown and turned into the soil to boost its nutrient content. Green manure plants can also be cut and then plowed into the soil. Or, you can just leave them in the ground before you till the garden.
Step Eight: Take Advantage Of Good Bacteria
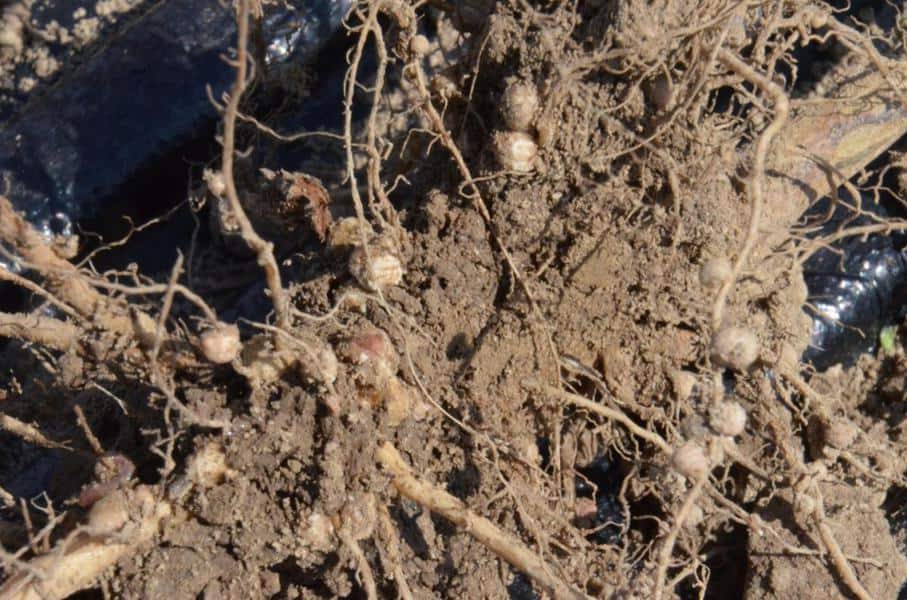
Your soil has many microorganisms in it, such as insects which help to turn debris into nutrients for your plants.
So, you want to make the most of them.
Encourage soil life in the fall and winter by keeping your soil moist all over and not using pesticides.
The problem with using pesticides is that these damage healthy bacteria as well as the dreadful insects that you want to eliminate, as Garden Design reports.
On the subject of good bacteria, you should also avoid quick-release fertilizers as these can harm earthworms, which are really healthy for your soil.
They, and other worms, increase the amount of water and air that can enter into your soil, which is why they’re sometimes called free garden assistance!
Step Nine: Make Your Own Mulch
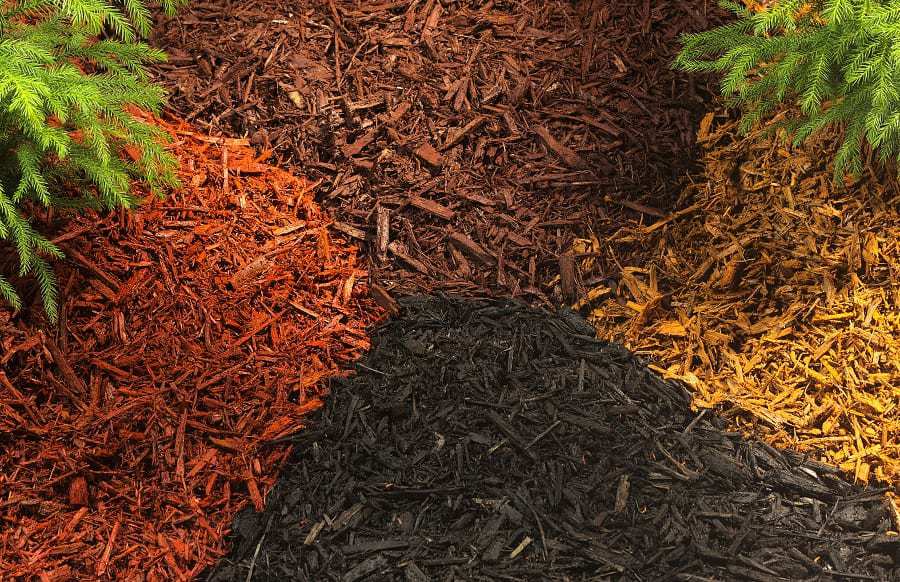
Mulch can be very beneficial for soil over the colder months.
When used on plants, it can insulate them from sudden changes in temperature that causes them to freeze and then thaw. This process can harm shallow-rooted plants, so you want to prevent it from happening.
As Gardening Know How reports, it’s a good idea to mulch plants in your garden when the temperature at night reaches freezing or below freezing point on a consistent basis.
Mulch is just intended for the winter so you want to make it out of materials that are easy to apply and remove at a later stage, such as pine needles, straw, and shredded leaves.
When should you remove mulch?
Don’t just leave the mulch in the soil. When spring comes and it’s time to plant, you should remove your mulch.
However, you have to be sure that there’s no risk of frost, so check the ground. If you can see that it has thawed, it’s safe to remove the mulch by raking the soil, as The Spruce explains.
Step Ten: Reduce Sodium Levels
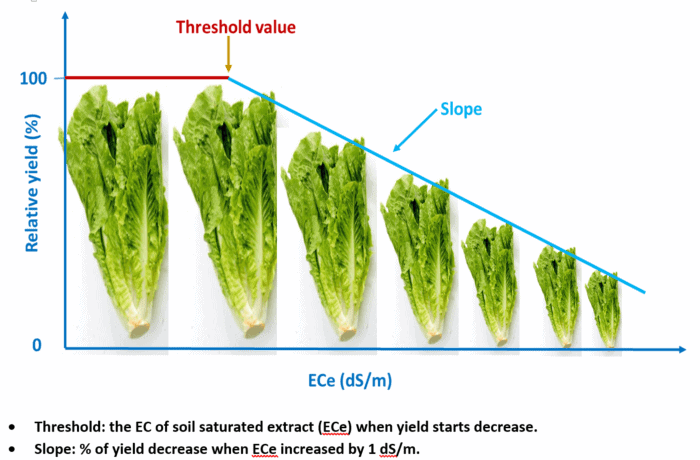
Make sure that your soil doesn’t have too much sodium in it. If it does, this can be toxic to plants. To eliminate sodium, you should use fresh water to refresh your soil. You can spot if your soil has too much sodium if it has white specks of salt in it.
Step Eleven: Till The Soil

Your soil should be tilled during the colder months, and you can do this with a spade.
Tilling is essential because it ensures that you create better air circulation in your soil.
Aim for tilling the soil deeply, around eight inches, so that you loosen the soil and create space for plant roots to penetrate deeper into the ground when they are planted.
To till the soil, simply pick up a shovel-full of soil and then flip it back onto the soil. Use the spade’s sharp edge to break hard clumps.
You should till the soil when it’s moist but not wet as that can make the soil harder to work with. Then, in the spring when you’re ready to plant things, you should rake the soil and remove all debris and rocks, before finally levelling it out.
Step Twelve: Prepare A Garden Bed
Get your garden beds ready now so that you can ensure the soil in them will be of good quality.
To make a bed, mark the boundaries of your flower bed with string or pegs. Cut through the soil around the borders with the use of a spade. Make sure you also remove any rocks.
If your soil is filled with rocks or clay, you can hand dig first to break it up. Turn the soil well. Then, you want to put fertilizer into the soil. Make sure you till the soil afterwards to further loosen it up.
Pro tip: You can also put in a mowing strip around the garden bed to make your job easier when springtime comes. You can do this with patio squares or slating, bricks, or landscape logs.
Once you’ve fertilized and tilled the soil in the garden bed, you should leave it for a few weeks. Every four days, give the surface a quick stir with a scuffle hoe.
This ensures that weeds can’t germinate and by preventing weeds from occurring, you’ll have less of a problem during the planting season.
Step Thirteen: Cover Your Garden Beds
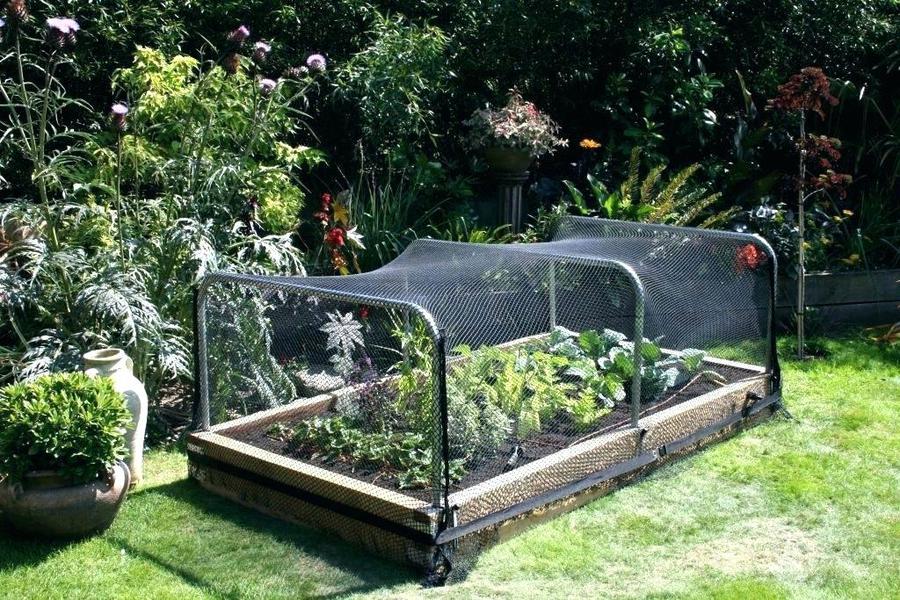
If you have some garden beds in which you want to plant new items in the spring but they’re going to remain empty until then, you should cover them up to keep them clean and healthy.
To do this, you should add a thick layer of compost to them and then cover them with a blanket.
This helps the soil because the cover will be able to regulate moisture so that not too much enters the soil where it can cause fungus and other problems. It also reduces compaction that can be caused by heavy rain.
Other Ways To Get Ready For The Spring
When the springtime is almost upon you, it’s time to start getting ready for a prosperous gardening season.
Now that your soil has been properly prepared with the above tips, there are some other things you should do closer to the time.
- Prepare your tools. Is there anything worse than reaching for a pair of garden shears only to find that they’re rusty or blunt? Now’s the time to clean your garden tools and pack them away in a dry, safe place so that when the season arrives, they’re ready for use whenever you need them. Having clean garden tools also prevents the transfer of harmful bacteria or pathogens. Read our guide on how to sharpen garden shears!
- Clean debris from your flower beds. If you followed the earlier-mentioned advice of covering your beds, then you won’t have to do this (and you’ll give yourself a pat on the back). If you didn’t, then you’ll have to check on your garden beds and pick up any twigs, sticks, and rocks.
- Give your greenhouse a good clean. If you’re using a greenhouse to grow seedlings that you’ll later transfer into your garden, you have to ensure you’re giving them a clean house. Wash the windows of your greenhouse as well as its frame with disinfectant to remove dirt and moss. Then, make sure you disinfect the insides of the windows to prevent diseases from lingering in your greenhouse and infecting your new plants. You should also sweep debris from the floor and wash your seed trays and plant containers. After cleaning everything, keep your greenhouse well-ventilated over the next few days.
Related Questions
What is good garden soil?
Healthy garden soil is soil that has enough moisture in it so that it won’t become hard when pressed between your hands. It will crumble but not become cracked when dried. This is the best texture of soil to encourage the growth of healthy plants.
Can you use sawdust on soil to improve it?
It’s said that applying sawdust to soil can help to give it more organic matter and even improve its texture but never put sawdust directly onto soil. You must compost sawdust before you add it to your soil otherwise it will deplete soil of nitrogen, a nutrient that plants need to grow.
Conclusion
You can’t just plant things in your garden when spring arrives and expect to have them grow beautifully.
There might be problems with your soil that can cause obstacles to you achieving a lovely garden, and by then it will be too late and you could have missed out on enjoying all the lovely plants and veggies you wanted.
Whether your soil is healthy or not, it’s very important to prepare it before you start your gardening projects, and the best time to do this is during the colder months so that it’s ready and healthy by the time the season comes for you to start planting.
As they say, preparation is half the work done, and by doing some work on your garden now you’ll reap the rewards – whether in blooms or delicious produce to enjoy.
Last Updated on August 17, 2022 by Gustaf Johansson


