You have a beautiful garden but why not make it even more beautiful by building a pond?
There are many benefits to doing this, and it’s not just about creating an idyllic garden at home.
Why should you build your own pond?
Having a pretty pond will provide a healthy home for freshwater wildlife while being a drinking spot for birds if they get thirsty. Building a pond is also a fun activity for the whole family, perfect for a bit of bonding time with the kids.
Although it might seem like an overwhelming task to accomplish, you can build your own garden pond without much fuss.
Here’s our step-by-step guide to getting it done and saving money by doing it yourself.
If you’d like to see a graphical breakdown of the DIY garden pond, we got you covered:

Share this Image On Your Site
<p><strong>Please include attribution to GustafsGreenery.com with this graphic.</strong><br /><br /><a href=’https://www.gustafsgreenery.com/diy-garden-pond/’><img src=’https://www.gustafsgreenery.com/wp-content/uploads/2019/12/Garden-Pond.jpg’ alt=’Garden Pond’ width=’780px’ border=’0′ /></a></p>
Table of Contents
Step One: Decide On The Size And Depth
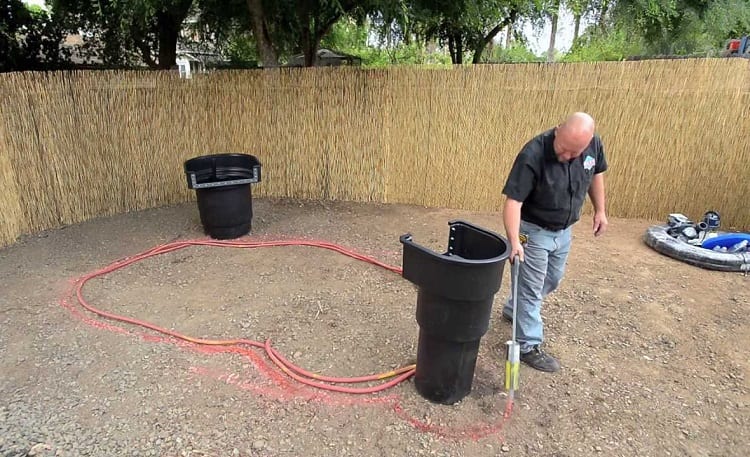
There are two important things to consider when you’ve decided that you want to build your own pond: its size and how deep it should be.
How big should your pond be?
Bear in mind that a smaller pond will be easier to clean and maintain than one that’s very large.
You might also want to think about its shape.
While this depends on your preference, such as if you want a round or kidney-shaped pond, it’s worth bearing in mind that kidney shapes and asymmetrical shapes will be more difficult to dig in the soil when compared to a round or oval pond.
The most important thing is to consider the pond depth.
Ideally, your pond should be at least 60cm deep so that the plants and fish that you bring into it will be able to live happily.
If the water is too shallow what happens is that it becomes vulnerable to evaporation when the weather is hot.
It could also freeze up in the winter if it’s really shallow, so you want to avoid that.
Step Two: Where Should You Put Your DIY Garden Pond?
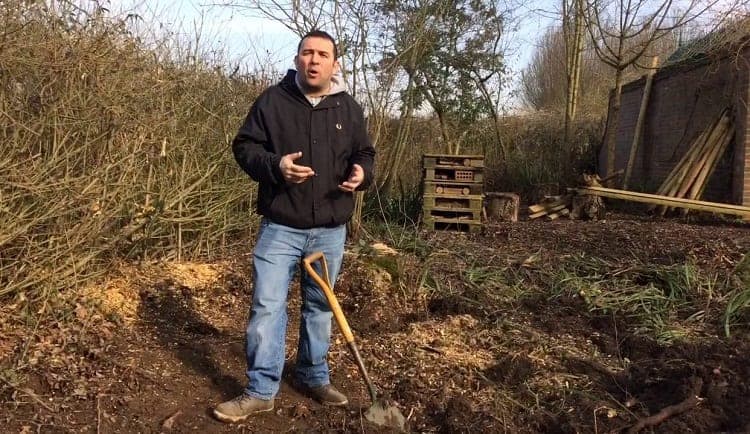
You should place your pond in an area of the garden that gets enough sun and shade.
Ideally, it should be an area that gets morning sun and then some shade during the afternoon.
This is to maintain cool water temperature.
Bear in mind that some shade is important to allow fish to hide from predators, although you will also add more shady areas to your pond with the plants you choose to put in it.
Although some shade is good, you want to avoid putting your pond right under trees as this will litter your pond with leaves and seeds, making it more difficult to maintain.
Once you’ve decided where you want your pond to go, you should mark out its shape with the use of strings between sticks or some rope.
Pro tip: Make sure that during the planning phase of your pond you ensure that the pond will be in close proximity to things like your house electricity supply as you will have to connect a pond pump and filter if you’re going to have fish in your pond.
Step Three: Test Your Soil
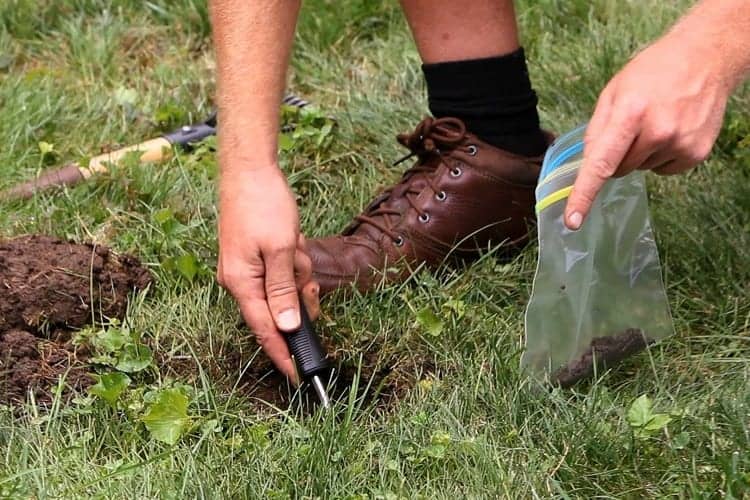
Not all soil is suitable for a pond to be built into, so it’s important to test your soil before going ahead.
You can do this easily in the following ways and without having to call the professionals.
- Cut out a handful of soil and roll it into a ball. Throw it into the air and catch it. Does it break apart or stay pretty much whole? If it breaks apart, then the soil is too brittle. If it stays whole, then you can move onto the next step of testing.
- Dig a hole in the area so that it’s up to your waist. Fill it with water in the early morning. By the evening, cover it with aboard. The next day, check the hole. If most of the water is still there, the soil is suitable for building a pond.
What happens if you have a small property and the soil isn’t good anywhere?
Does that mean you can’t build your own pond?
Not necessarily.
You can still go ahead and build a pond but you have to reinforce the soil.
To do this, you need to cover the whole of the pond with plastic sheeting or concrete to prevent the water in the pond from entering the soil too much.
Step Four: Start Digging The Hole
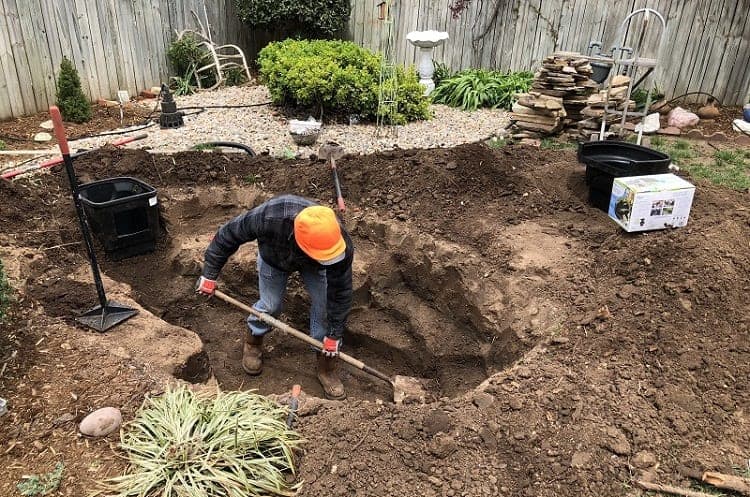
Now you’re ready to start digging your pond!
As you dig out your turf to create your pond, you should keep that turf aside so that you can use it later, such as by placing pieces of turf around the edges of the pond so that it will look nice and finished.
That said, never use the turf pieces inside the pond as this will pollute the water and make it unhealthy for whatever you want to live in it!
Step Five: Create A Gentle Slope
After you’ve removed the turf pieces, you might find that you end up with a cliff or steep edge in your pond.
To prevent and repair this problem, you should try to raise the turf by removing half of the soil from each turf and then using the soil you’ve collected to make a gentler slope from the pond to the grass on the ground, as Fresh Water Habitats reports.
Pro tip: Remember that the size of your pond has to work with how deep it’s going to be. If it’s deep, you have to make it bigger otherwise you will have steeper sides which are more complicated and time-consuming to repair.
Step Six: Create A Step In The Pond
This is an optional step but it is probably best to do it.
Building a shallow step in the pond is great for plants that need shallow water and it can add to the visual beauty of the pond.
If you want to have lots of different plants in your pond, a step can ensure that different plants get the right water depth they need.
You can also use the pond step to add more elements to your ponds, such as rocks, stones, or other items.
A pond step is also a safety measure as it will provide a step for someone who falls into your pond by accident.
When building your pond, a good general tip is to make the center of your pond about 10 or 15cm deeper than the step.
Step Seven: Level It Out
Once you’ve dug out the hole for your pond, you want to be sure that the pond is level.
Use a spirit level to measure across the pond.
Put it on a long piece of wood so that it’s long enough to reach both sides of the pond.
Use the spirit level from different angles to be sure that it’s level all over.
Step Eight: Use Screened Mason’s Sand
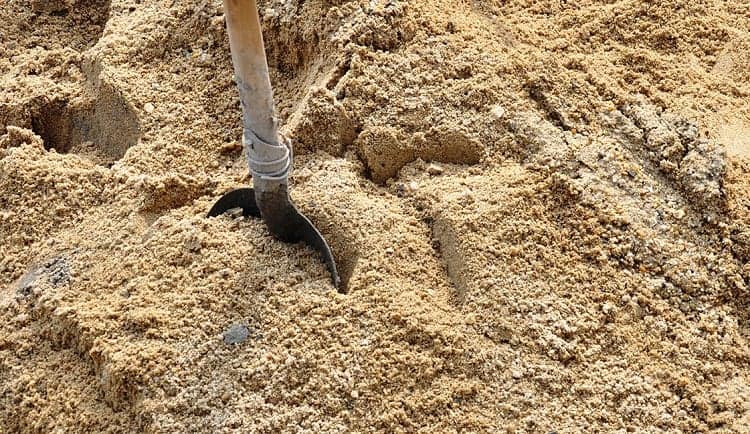
You want to line the hole you’ve made with screened mason’s sand.
Make sure that you rake it so that it’s smooth. Then, on the sand place geotextile fabric to protect the pond liner that will be applied.
The reason why you need sand and geotextile fabric are because it will provide a cushion for the rubber liner (which we’ll get to in the next step!) and prevent it from getting punctured, as Popular Mechanics explains.
You don’t want to have to fix leaks and holes in your liner once you’ve filled your pond, so this is an important step that will help you later.
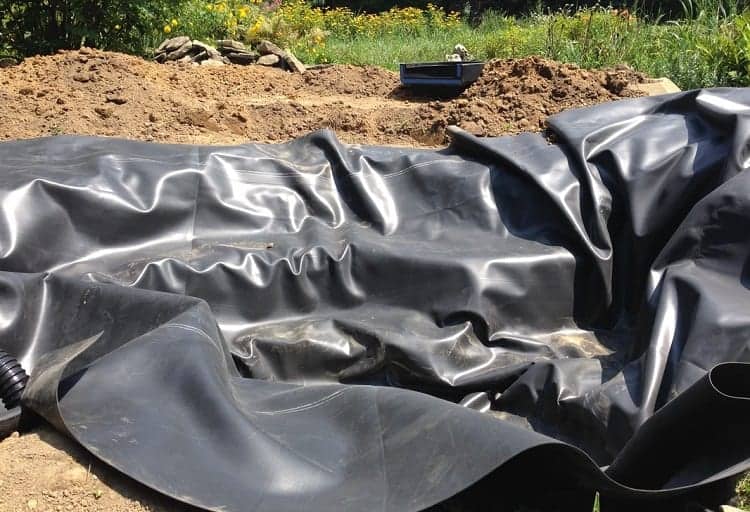
Step Nine: Install The Pond Liner
You need to purchase a liner for the pond’s base to protect it.
You can find liners that are made of different materials, such as ethylene propylene diene terpolymer (EPDM) or polypropylene (RPP). EPDM is more expensive but it’s thicker.
Once you have your liner, you should pull it over the hole. Make sure you have enough to create an overlap.
Place small rocks along the perimeter of the liner. Later, when you fill the pond, you’ll remove them.
Now, you might wonder how much liner you need for your pond’s dimensions.
Here’s a quick formula to help you work out how much you need: length or width + 2 x pond depth + 2, as wikiHow reports.
Then multiply the length and width together to get the square footage.
Step Ten: Fill The Pond
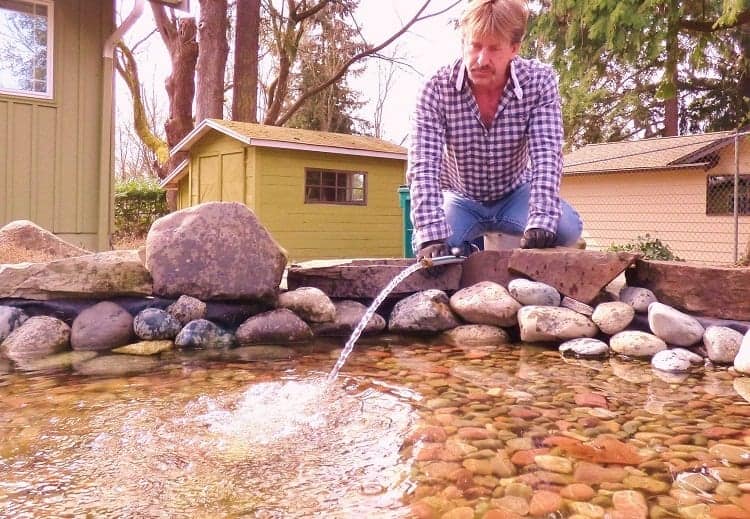
Once you’ve installed a pond liner, you might want to add gravel on top to make it look more natural.
Using gravel will have another benefit: it will protect the liner against any damage.
Choose gravel that’s approximately one inch in diameter and has smooth edges, as The Pond Guy reports.
Now that you have everything set up, it’s time to fill your pond with water from your garden hose.
You want to do this carefully and you have to adjust your pond liner during the process so that it slowly submerges down to the bottom of the pond.
Pro tip: Make sure that your water is dechlorinated so that it won’t harm fish if you’re building a fishpond. If you don’t purchase a dechlorinator kit from your local hardware store, you can dechlorinate the water naturally by leaving it in the pond for a day so that the chlorine can evaporate into the air. Once it does that, then it’s safe to put fish into it.
Step Eleven: Consider If You Need A Pump And Filter
Generally, if your pond isn’t going to have any fish in it, you don’t need a water pump.
If you have fish, then you’ll need to install a pump to keep the water healthy for them.
You should always ensure that your pump has a GPH (gallons per hour) that’s equal to the size of your pond.
So, if your pond is 100 square feet, then the GPH needs to be at least 100.
Note: You should always place the pump into the pond when the pond has only been filled a little bit.
This makes it much easier to deal with. Once the water in the pond has been filled, then you’ll only have to plug in your pump.
Your pond filter won’t be in the pond, so you’ll have to store it in a box or other container – you could even hide it with rocks or plants on the side of your pond.
But remember that you need to connect the wire to the electrical supply box by running your wires underground.
You can connect the inlet and outlet hoses with hose clamps so that they’re hidden.
Now, to install a pond pump, you need to simply place it at the bottom of your pond.
It can be freestanding or you could put it in a waterproof container if you want to avoid seeing it for aesthetic reasons.
Once you’ve chosen a place for it, simply connect the pump to the hoses to send water to your filter, as Do It Yourself explains.
Step Twelve: Populate Your Pond
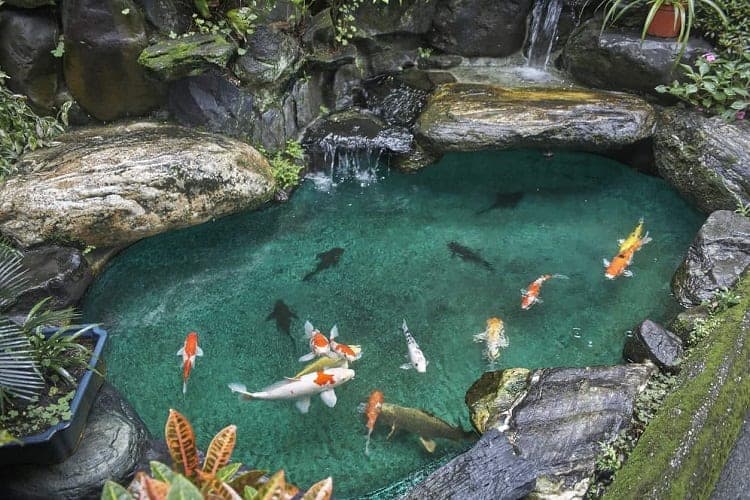
By now you’re probably itching to fill up your pond.
Make sure you let your pond water circulate for a few days before you fill it with fish and plants.
This is important to eliminate any dirt from the pond construction and to check that it’s all working in order.
You really don’t want to find yourself in the situation of having filled your pond with fish and plants only to realize that there’s a leak or some other problem.
Having to remove the fish and keep them alive before placing them back in the pond can be stressful for them and should, therefore, be avoided.
If you want to put fish into your pond, you’ll have to choose the right species to ensure that they can live happily in the pond.
Species like Fathead Minnow require a pond that’s at least 29cm deep and they need to have the company of at least five other fish like them to prevent them from getting territorial.
Golden Rudd is a great species of fish because it looks so pretty with its red and silver colors.
It requires an eight-inch depth of water for propagating and the water has to be clean, so you need a pond filter.
Fish aside, tadpoles can be a nice addition to your pond, especially if it’s really small.
You shouldn’t have more than two tadpoles for every gallon of water. They also need cool and freshwater.
When it comes to what plants you should put in your pond, there’s a large variety to choose from. Here are some to consider:
- Creeping Jenny. This creeper gives a dash of lively green color so it’s perfect to place it between rocks to soften them. It grows two inches in height. It also flowers in small yellow blooms during the summer.
- Pickerel. These are tall pond plants that grow to around 28 inches in height, and you can find them in various colors, such as pink, white, or blue. Plant lots of them together so that you get a lovely display in your pond.
- Water lettuce. These plants sprout little rosettes of leaves that float on the surface of your water. They’re a great choice if you’re new to gardening because they grow so easily.
- Water lilies. If you love floating plants, you need to purchase some pretty water lilies. They come in a range of colors and add an extra slice of beauty to your charming pond. They can grow up to two inches all the way up to over 12 inches.
Related Questions
Do you need to contact your local building department to notify them of your pond?
If you’re building a fishpond, you might need a permit. An example of a state that requires one is Idaho where you’ll need a free Private Fish Pond Permit that has to be renewed every five years, as wikiHow reports. Always check with your local building department to find out if a permit’s required.
How should you clean your pond?
You’ll have to look after your pond to keep it healthy and beautiful. You can remove dirt from the surface of the water with a leaf skimmer. If there are leaves that have reached the bottom of your pond, you’ll have to use a leaf vacuum to eliminate them.
Conclusion
Having your own pond is a great way to attract more birds to your property while also having fish as pets.
Even if you don’t have any fish in your pond, placing plants in it is a pretty way to add extra beauty to your property while giving insects and frogs a safe environment.
In this article, we’ve outlined a step-by-step guide on how to build your very own pond – it’s a fun and easy project you can enjoy doing with the whole family.
Last Updated on August 20, 2022 by Gustaf Johansson


